Many Shopify stores launched in 2026 will struggle to hit double-digit sales in their first three months. Not because the product is bad. Not because the market isn’t there. But because the store was built like a to-do list rather than an actual business.
This guide doesn’t do that.
You won’t find advice here like “pick a theme you love” or “write a description.” You’ll find the decisions that actually determine whether your store sells, the steps most guides quietly skip, and the mistakes that drain revenue from day one without anyone noticing. Whether this is your first store or a rebuild of one that isn’t working, this guide covers what matters.
Before You Touch Shopify: Get These Five Things Ready First
Before you create your Shopify account, get these five things ready. They’ll help you build a store that actually converts.
Stores that struggle after launch usually aren’t struggling because Shopify is complicated. They’re struggling because the owner started building before the foundations were in place, and then had to undo and redo things halfway through. Save yourself that headache by having these five things sorted before you open a single Shopify tab.
Your Brand Identity
Your logo, your brand colors (with hex codes), and your fonts. If you don’t have these yet, stop and sort them first. Trying to build a store while figuring out your branding at the same time produces something that looks confused and converts poorly.
Your Product Photos
High-resolution images on a clean background, at minimum. Lifestyle shots showing your product in real use are even better. Customers can’t hold your product. They can’t feel it, smell it, or try it on. Your photos are doing all of that work. Underinvest here and you’ll pay for it in conversion rates.
Your Shipping Strategy
Before you start, know whether you’re offering free shipping, flat-rate shipping, or calculated rates. Know which countries you’re shipping to. Know your approximate parcel weights. Setting up shipping without this information leads to pricing errors that show up right at checkout, which is exactly when you can’t afford friction.
Your Domain Name
Decide on your domain before you begin building. You can connect a custom domain at any point, but starting with it from day one means your store URL is consistent and you don’t have to update links later.
Your Target Market
Know which countries your customers are in. This affects your currency settings, your payment methods, your shipping zones, and your tax configuration. Getting any of these wrong creates problems after launch that are genuinely annoying to fix.
Step 1: Creating Your Account and Picking the Right Plan
Go to shopify.com and start your free trial. No credit card required. Shopify gives you three days free and then one dollar per month for your first three months on most plans. That’s more than enough runway to build, test, and feel confident before committing.
During signup, Shopify will ask a few questions about your business. Answer honestly. None of these lock you into anything, and they help configure your admin in a way that’s useful to you.
Which Plan Should You Choose?
For most new stores, the decision is between the Basic plan at $39 per month and the Grow plan (formerly called the “Shopify” or “Standard” plan) at $105 per month.
Basic covers everything you need to get started. The catch is the 2% transaction fee on sales if you’re not using Shopify Payments. At low volume that’s manageable. At meaningful volume it adds up fast, and the Grow plan eliminates it.
One thing most guides don’t mention: Shopify Payments now covers close to 40 countries, including most of the US, UK, Canada, Australia, the EU, Mexico, Japan, and Singapore, but it still isn’t available everywhere. If your country isn’t on the list, you’ll be using a third-party payment provider and paying transaction fees on every sale regardless of which plan you’re on. Check Shopify’s current supported countries page before you commit, since the list is still growing.
The First Things to Configure in Settings
Before you touch your theme or add a single product, go to Settings and do these four things:
- Set your store name and contact information
- Set your store currency and the countries you’re selling to
- Configure your taxes correctly based on where you are and where your customers are
- Generate your legal pages: Shopify can create template versions of your refund policy, privacy policy, and terms of service under Settings > Policies. Do this now. You legally need them before you launch.
Step 2: Choosing and Customizing Your Theme
Shopify’s theme store has both free and paid options. The free themes, including Dawn and the newer Horizon family, are genuinely good. They’re not consolation prizes. Paid themes from reputable developers run between $150 and $350 and offer more design flexibility and built-in features, but a free theme done well will outperform an expensive theme done poorly every time.
Before you choose a theme, check these things:
- How it looks on mobile, not just on desktop
- Whether the buy button is visible above the fold on the product page
- Whether it loads quickly or if it’s heavy with animations that drag the speed down
- Whether it has the sections you actually need on the homepage without requiring a stack of apps to fill the gaps
Customizing Your Theme
Once you’ve chosen a theme, go to Online Store > Themes > Customize. Work through things in this order.
Start with your brand settings. Upload your logo, set your colors using your hex codes, and choose your fonts. These apply globally, so getting them right first saves you from making the same adjustment on every page separately.
Then work on your homepage sections. Most themes let you add, remove, and reorder sections. Build your homepage around this basic structure: a strong hero section with a clear and direct value proposition, a featured products or collections section, a trust signals section showing your returns policy and shipping times, and social proof if you have reviews or press mentions to show.
One rule that matters more than most people realize: always preview your changes on mobile before moving on. The majority of your traffic will arrive on a phone, and things that look clean on a large screen can break completely on a small one.
Step 3: Adding Your Products the Right Way
This is where most stores make the most costly mistakes, because this is where customers decide whether to buy.
Product Titles
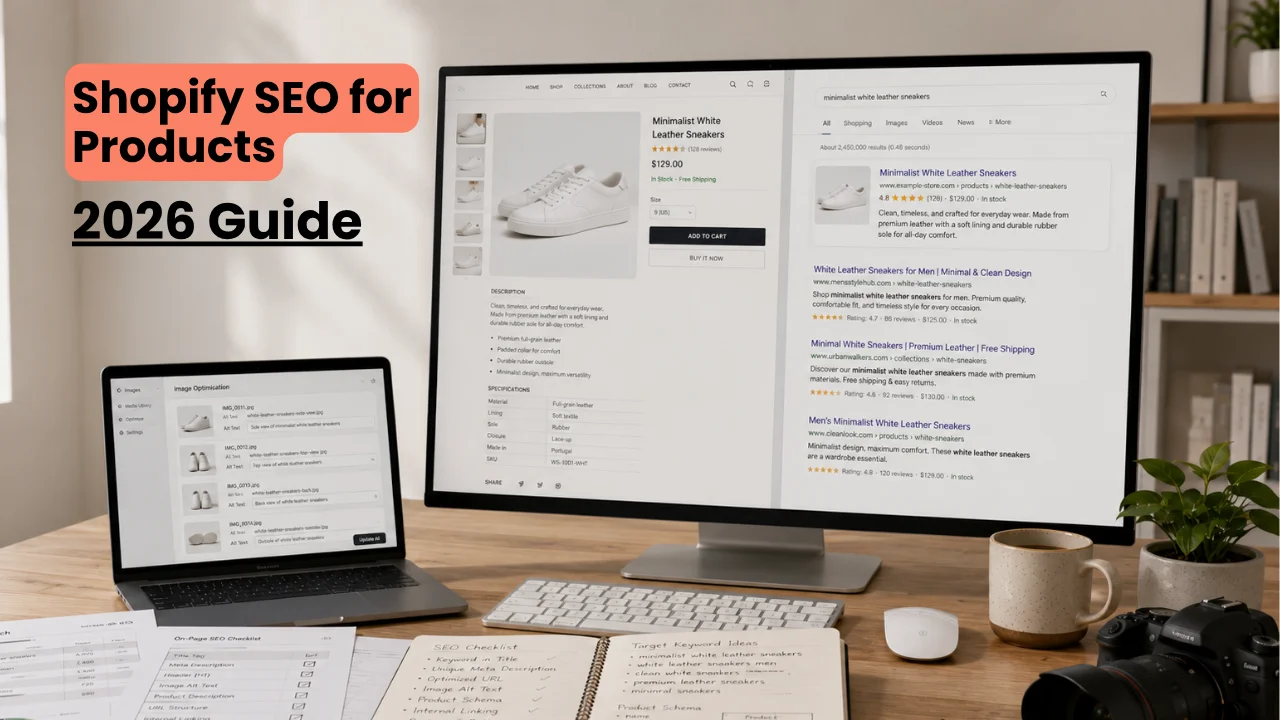
Your title needs to be clear, specific, and contain the words your customers would actually search for. “Black Leather Wallet for Men” outperforms “The Classic” in both search visibility and conversion every single time. It tells the customer exactly what they’re looking at before they’ve even clicked.
Product Descriptions
Don’t write a list of features. Write about what the product does for the person buying it. Features inform. Benefits sell.
A waterproof jacket isn’t interesting because it’s waterproof. It’s interesting because the customer stays dry during their commute, arrives at a meeting looking composed, and never has to carry an umbrella again. That’s the version that makes someone click Add to Cart.
Keep descriptions scannable. Use short paragraphs, not walls of text. Put your most important information first, because most people won’t read to the end.
Product Images
Upload a minimum of four images per product: a clean front-facing shot, a back or side view, a close-up detail or texture shot, and a lifestyle or in-use shot. Use images that are at least 1200 by 1200 pixels so they hold quality when customers zoom in.
Add alt text to every image. This is both an accessibility requirement and an SEO signal. Describe what’s actually in the image specifically.
Organizing Your Collections
Think about collections from your customer’s perspective, not your inventory perspective. Organize by use case, category, or occasion rather than by supplier or internal code.
A customer looking for a gift wants to browse a “Gifts Under $50” collection. Nobody is browsing for “Category A.”
Inventory and Variants
Turn on inventory tracking for every product. This prevents overselling and the customer service mess that follows it. Set up variants correctly including size, color, and any other relevant options, and add individual SKUs if you plan to run any real volume.
Step 4: Setting Up Payments
Getting paid is the whole point. Getting this step wrong means people who want to buy you can’t.
Shopify Payments vs. Third-Party Gateways
If Shopify Payments is available in your country, use it. It removes the additional transaction fee, it integrates directly with your admin, and it supports accelerated checkouts including Shop Pay, Apple Pay, and Google Pay, all of which consistently increase conversion rates.
If Shopify Payments isn’t available, you’ll need a third-party provider such as Stripe, PayPal, or a local payment processor. Shopify has documentation for every major option.
Give Customers the Payment Methods They Expect
UK customers expect debit card payments and PayPal as a minimum. US customers expect credit cards, PayPal, and increasingly Buy Now Pay Later options. Australian customers predominantly use credit cards and PayPal. Missing a preferred payment option is a conversion killer that you won’t see in your analytics because the customer simply leaves.
Testing Your Checkout
Before launching, place a test order using Shopify’s test mode under Settings > Payments. Go through the entire checkout as a customer: choose a shipping option, enter payment details, confirm the order. Do this on both desktop and mobile.
The checkout setting most stores get wrong is requiring customers to create an account before completing a purchase. Turn that off. Make account creation optional. Forcing registration at checkout is one of the most consistent causes of abandoned carts and one of the easiest problems to fix.
Step 5: Configuring Shipping
Shipping is the most skipped section in every Shopify guide and the one that causes the most post-launch problems. Incorrect shipping rates mean either losing money on every order or losing customers at checkout. Neither is acceptable.
Setting Up Shipping Zones
A shipping zone is a group of countries or regions that share the same rates. At minimum, set up a domestic zone for your home country and at least one international zone. Go to Settings > Shipping and Delivery to configure them.
Weight-Based vs. Price-Based Shipping
Weight-based shipping is more accurate but requires you to know your product weights. Price-based shipping is simpler to manage and works well for most new stores with straightforward products.
For many stores, the most effective configuration is price-based shipping with a free shipping threshold set just above your average order value. This gives customers a reason to add one more item to hit the free shipping minimum, which consistently raises average order value.
International Shipping
If you’re selling internationally, configure your international zones carefully. Account for different rates to different regions. Clearly communicate delivery timelines at checkout. Customers who are surprised by a six-week shipping time after placing an order will ask for refunds and leave negative reviews. Set honest expectations upfront.
Step 6: The Apps You Actually Need (and the Ones to Skip)
Most Shopify setup guides hand you a long list of apps to install. This one won’t, because most new store owners install too many apps and slow their store down before it’s made a single sale.
Every app you install adds code to your store. Too many apps create performance problems that hurt your conversion rate and your search rankings. Install only what you genuinely need at launch.
The Four Types of Apps Worth Installing at Launch
Stick to these four categories at launch, and add anything else only once you’ve confirmed the store converts.
Email Capture and Marketing
You need a way to collect customer emails and run automated sequences. A Welcome email and an Abandoned Cart recovery sequence are the two most valuable automations for any new store. Both can run with a basic email marketing app.
Reviews
Social proof drives conversions. Customers want to see that other people have bought your product and been happy with it before they buy themselves. A simple reviews app that collects and displays reviews on your product pages addresses this directly.
Abandoned Cart Recovery
A significant share of customers add products to their cart and then don’t complete the purchase. An abandoned cart email sequence recovers a meaningful portion of that revenue. Many email marketing apps include this. If yours doesn’t, add a dedicated tool for it.
Analytics
Shopify’s built-in analytics cover the basics. For deeper insight, connect Google Analytics 4 to your store. This isn’t technically an app but it’s an essential step covered in the launch checklist section below.
Apps to Hold Off On
Loyalty programs, subscription tools, advanced upsell apps, and complex personalization tools all have their place, but not on a store that hasn’t yet made its first hundred sales. Add complexity after you’ve confirmed that your basic store actually converts.
Step 7: The Pre-Launch Checklist
Do not skip this. The stores that launch cleanly are the ones that go through this list before removing their store password.
Checkout and Payments
- Completed a test order in test mode on desktop
- Completed a test order in test mode on mobile
- Confirmed order confirmation email arrives correctly
- Confirmed inventory decrements correctly after test order
- Guest checkout is enabled
Products and Content
- All products have at least 4 images with alt text
- All product descriptions are complete and reviewed
- All prices are correct, including any sale prices
- All variants are set up correctly
- All collections are organized and named clearly
Legal and Policies
- Refund policy is in place and linked in the footer
- Privacy policy is in place and linked in the footer
- Terms of service is in place and linked in the footer
- Shipping policy is in place and clearly communicates delivery timelines
Technical
- Custom domain is connected and resolving correctly
- Store loads in under 3 seconds on mobile
- All navigation links go to the correct pages
- No broken images or missing content on any page
- Google Analytics 4 is connected and tracking
- Facebook Pixel is installed if you plan to run Facebook ads
- Google Search Console is set up and your sitemap is submitted
Remove Your Password
Your store is password protected by default. Go to Online Store > Preferences and remove the password. Your store is now live.
Step 8: Your First 30 Days After Launch
This is the section that determines whether your store grows or stalls, and you won’t find it in most setup guides.
Week 1: Confirm Your Foundations Are Working
If you haven’t already, connect Google Search Console and submit your sitemap. Your sitemap URL is typically yourstorename.myshopify.com/sitemap.xml. This tells Google your store exists and what to index.
Check your Google Analytics 4 data daily for the first week. Not to obsess over numbers, but to confirm that tracking is working and that the sessions you know are happening are actually being recorded.
Week 2: Get Your First Traffic
Start with organic channels before paid advertising. Share your store with your existing audience. Tell the story of what you built and why you built it. Personal networks drive the first sales for most stores, and those early sales generate the reviews and data you need before paid ads make sense.
Week 3: Get Your Email Automations Running
If you haven’t set up your Welcome email sequence and Abandoned Cart sequence yet, do it now. These two automations recover revenue that would otherwise be gone permanently, and once they’re set up they run without ongoing effort.
Week 4: Look at Your Data
By the end of month one you should be able to answer these questions:
- Where is your traffic coming from?
- Which products are getting the most views?
- Where in the checkout flow are people dropping off?
- What is your conversion rate?
A typical new store conversion rate sits between 1% and 3%. Below 1% usually signals a product page problem, a trust issue, or low-quality traffic. If your conversion rate is healthy but your traffic volume is too low, focus shifts to driving more visitors. If traffic is healthy but conversion is low, the store itself needs work.
When to Turn On Paid Ads
Don’t start paid advertising until you’ve made at least your first 10 to 20 organic sales. Those sales prove that your product converts, your checkout works, and your fulfillment runs smoothly. Running paid ads to an unvalidated store is an expensive way to discover problems you could have found for free.
When It Makes Sense to Get Professional Help
Setting up a Shopify store yourself is completely doable if you have the time and patience to learn the platform. Where most business owners run into trouble isn’t the setup itself. It’s the optimization.
Product pages that look fine but don’t convert. Checkout flows that lose customers on the last step. Apps that conflict and drag the store’s speed down. Tracking that fires incorrectly and gives you data you can’t trust. These problems show up after launch and quietly cost revenue every day, and they’re hard to diagnose without experience.
If you want a store that’s built correctly from day one, optimized for conversion from the first sale, and properly integrated with your marketing channels, a professional setup service delivers exactly that. The time saved and the revenue recovered from a properly built store consistently justify the cost.
Book a Free Shopify Consultation with Logicade
Frequently Asked Questions
How long does it take to set up a Shopify store?
A basic store can be set up in one to two days. A properly optimized store with custom theme design, configured shipping, payment testing, and app integration typically takes one to two weeks when done correctly. Rushing to launch faster almost always creates problems that take longer to fix than the time you saved.
How much does it cost to set up a Shopify store in 2026?
Shopify plans start at $39 per month. A custom domain costs around $15 per year. A premium theme ranges from $150 to $350 if you go with a paid option. Essential apps add $30 to $100 per month depending on what you need. Professional setup services vary based on the complexity and scope of your store.
What do I need before setting up a Shopify store?
Before you start, have your brand identity ready (logo and colors), your product photos, your domain name, your shipping strategy decided, and a clear sense of which countries you’re selling to. Having these in place before you open Shopify saves significant time and prevents you from having to redo work.
Can I set up a Shopify store without any technical experience?
Yes. Shopify is designed for non-technical users and the admin is genuinely intuitive. The most challenging parts are theme customization, payment configuration, and shipping setup. All of these can be done without any coding, but they benefit from experience, particularly shipping zones and payment gateway configuration.
What is the best Shopify theme for a new store in 2026?
Dawn is a solid free choice for most product types because of its speed and clean layout. Horizon is Shopify’s newest free theme family and performs well across categories. For stores with specific design requirements or more complex layouts, paid themes from reputable developers offer more flexibility. Choose based on what your product needs and the features you actually want, not purely on how the demo looks.
Do I need a business registration to set up a Shopify store?
Shopify doesn’t require business registration to create a store. However, you’ll likely need registration to open certain payment gateways, collect sales tax correctly, and operate legally in most markets. Speak with a local accountant or legal advisor for guidance specific to your country and business model.
Published by Logicade | Full-Service Digital Marketing and Web Development Agency
If you found this guide useful and want a Shopify store built by specialists who understand both the technical setup and the conversion optimization that makes stores actually sell, visit our Shopify Store Setup Service or get in touch for a free consultation.